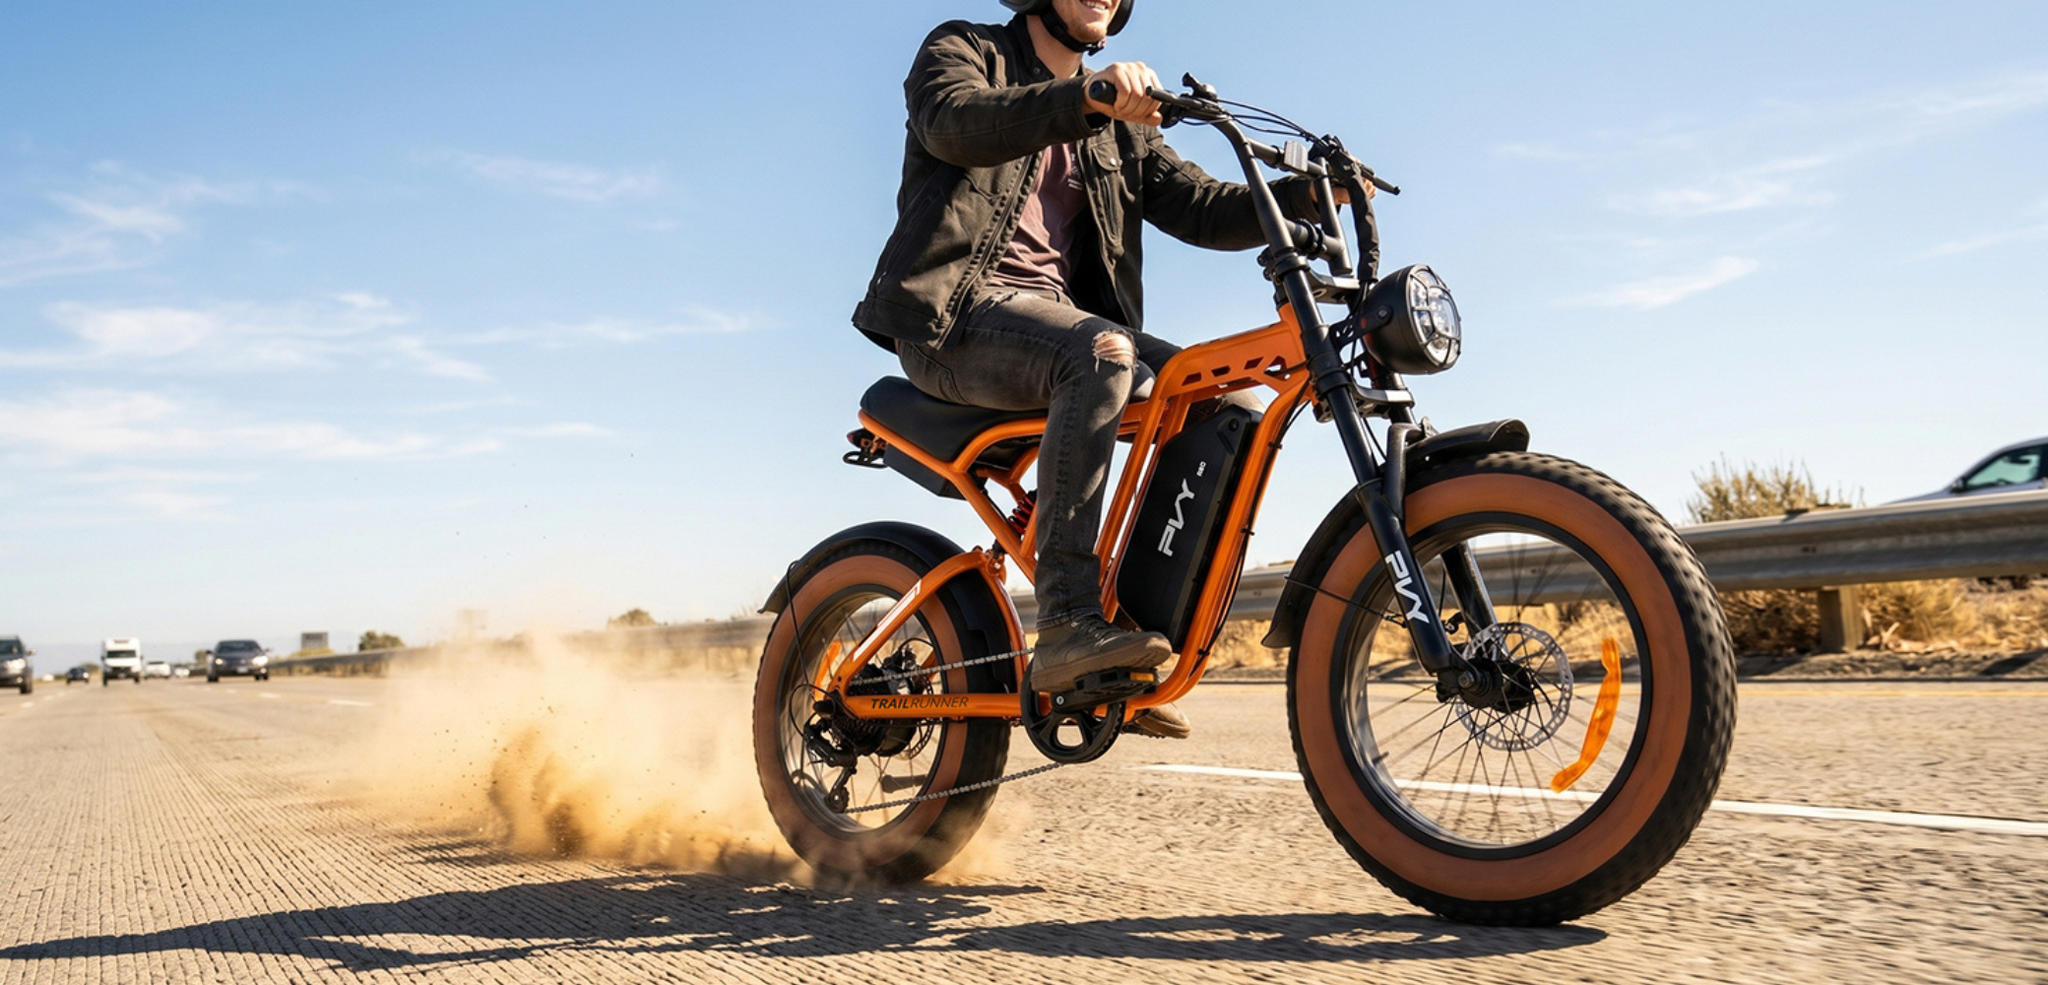
Few moments on an e-bike are as startling—or as potentially dangerous—as a sudden tire blowout. That loud BANG or rapid hiss can jolt even the most experienced rider. For e-bike users, the risks are amplified by higher average speeds, greater overall weight, and the instant loss of motor assistance if the wheel locks.
{"height":15,"color":{"hue":213,"brightness":0.83,"saturation":1,"alpha":0},"hidden":false,"locked":false,"blockName":"Spacer"}
Understanding why blowouts happen and knowing exactly what to do in those critical seconds can mean the difference between a controlled stop and a serious accident. This guide breaks down the common causes and provides a clear, step-by-step self-rescue plan.
{"height":15,"color":{"hue":213,"brightness":0.83,"saturation":1,"alpha":0},"hidden":false,"locked":false,"blockName":"Spacer copy"}
Part 1: Why Did My Tire Blow Out? Common Causes Analyzed
{"height":15,"color":{"hue":213,"brightness":0.83,"saturation":1,"alpha":0},"hidden":false,"locked":false,"blockName":"Spacer copy copy"}
A blowout is a rapid loss of air pressure, often resulting in tire damage. It’s usually a symptom of an underlying issue.
{"height":15,"color":{"hue":213,"brightness":0.83,"saturation":1,"alpha":0},"hidden":false,"locked":false,"blockName":"Spacer copy copy copy"}
1. Overinflation: The Silent Culprit
{"height":15,"color":{"hue":213,"brightness":0.83,"saturation":1,"alpha":0},"hidden":false,"locked":false,"blockName":"Spacer copy copy copy copy"}
The Science: Tire pressure is not "the more, the better." Exceeding the maximum PSI rating (printed on the tire sidewall) over-stretches the tire’s casing. Combined with heat from friction, road impacts, or even sun exposure, the pressurized air can rupture the tire’s weakest point.
{"height":15,"color":{"hue":213,"brightness":0.83,"saturation":1,"alpha":0},"hidden":false,"locked":false,"blockName":"Spacer copy copy copy copy copy"}
E-Bike Specifics: E-bikes are heavier. Riders often overinflate tires to reduce rolling resistance, inadvertently pushing tires past their limit.
{"height":15,"color":{"hue":213,"brightness":0.83,"saturation":1,"alpha":0},"hidden":false,"locked":false,"blockName":"Spacer copy copy copy copy copy copy"}
2. Impact Damage & Pinch Flats ("Snakebite")
{"height":15,"color":{"hue":213,"brightness":0.83,"saturation":1,"alpha":0},"hidden":false,"locked":false,"blockName":"Spacer copy copy copy copy copy copy copy"}
Hitting a sharp edge—a pothole, curb, or deep crack—at speed can compress the tire against the rim with enough force to pinch and puncture the inner tube in two places (like a snakebite). With enough force, this can cause an immediate blowout.
{"height":15,"color":{"hue":213,"brightness":0.83,"saturation":1,"alpha":0},"hidden":false,"locked":false,"blockName":"Spacer copy copy copy copy copy copy copy copy"}
3. Road Hazard Penetration
{"height":15,"color":{"hue":213,"brightness":0.83,"saturation":1,"alpha":0},"hidden":false,"locked":false,"blockName":"Spacer copy copy copy copy copy copy copy copy copy"}
Sharp objects (glass, nails, metal shards) can pierce through the tread. Sometimes, the object remains embedded, causing a slow leak that suddenly becomes a rapid rupture when the tire flexes and widens the hole during riding.
{"height":15,"color":{"hue":213,"brightness":0.83,"saturation":1,"alpha":0},"hidden":false,"locked":false,"blockName":"Spacer copy copy copy copy copy copy copy copy copy copy"}
4. Tire Wear & Fatigue
{"height":15,"color":{"hue":213,"brightness":0.83,"saturation":1,"alpha":0},"hidden":false,"locked":false,"blockName":"Spacer copy copy copy copy copy copy copy copy copy copy copy"}
Worn-down tread has less protective material. The casing underneath becomes thinner and more susceptible to penetration and failure. Old, dry-rotted tires (with visible cracks in the rubber) have lost their elasticity and can simply disintegrate under pressure.
{"height":15,"color":{"hue":213,"brightness":0.83,"saturation":1,"alpha":0},"hidden":false,"locked":false,"blockName":"Spacer copy copy copy copy copy copy copy copy copy copy copy copy"}
5. Improper Installation or Faulty Equipment
{"height":15,"color":{"hue":213,"brightness":0.83,"saturation":1,"alpha":0},"hidden":false,"locked":false,"blockName":"Spacer copy copy copy copy copy copy copy copy copy copy copy copy copy"}
A tube pinched between the tire bead and the rim, or a damaged/defective tire fold can create a weak spot that fails under pressure.
{"height":15,"color":{"hue":213,"brightness":0.83,"saturation":1,"alpha":0},"hidden":false,"locked":false,"blockName":"Spacer copy copy copy copy copy copy copy copy copy copy copy copy copy copy"}
{"height":15,"color":{"hue":213,"brightness":0.83,"saturation":1,"alpha":0},"hidden":false,"locked":false,"blockName":"Spacer copy copy copy copy copy copy copy copy copy copy copy copy copy copy copy"}
{"height":15,"color":{"hue":213,"brightness":0.83,"saturation":1,"alpha":0},"hidden":false,"locked":false,"blockName":"Spacer "}
Your actions in the first 5 seconds are crucial. Follow this sequence.
{"height":15,"color":{"hue":213,"brightness":0.83,"saturation":1,"alpha":0},"hidden":false,"locked":false,"blockName":"Spacer copy"}
Step 1: Stay Calm & Regain Control
{"height":15,"color":{"hue":213,"brightness":0.83,"saturation":1,"alpha":0},"hidden":false,"locked":false,"blockName":"Spacer copy copy"}
Do NOT slam the brakes. This is the most critical rule. A locked wheel on a flat will cause an immediate skid.
{"height":15,"color":{"hue":213,"brightness":0.83,"saturation":1,"alpha":0},"hidden":false,"locked":false,"blockName":"Spacer copy copy copy"}
Grip the handlebars firmly. A sudden blowout, especially on the front tire, will cause a violent pull to one side. Focus on keeping the bike upright.
{"height":15,"color":{"hue":213,"brightness":0.83,"saturation":1,"alpha":0},"hidden":false,"locked":false,"blockName":"Spacer copy copy copy copy"}
Shift your weight slightly back to take pressure off the affected wheel and help maintain stability.
{"height":15,"color":{"hue":213,"brightness":0.83,"saturation":1,"alpha":0},"hidden":false,"locked":false,"blockName":"Spacer copy copy copy copy copy"}
Step 2: Execute a Controlled Stop
{"height":15,"color":{"hue":213,"brightness":0.83,"saturation":1,"alpha":0},"hidden":false,"locked":false,"blockName":"Spacer copy copy copy copy copy copy"}
Allow the bike to slow naturally by sitting upright to increase wind resistance.
{"height":15,"color":{"hue":213,"brightness":0.83,"saturation":1,"alpha":0},"hidden":false,"locked":false,"blockName":"Spacer copy copy copy copy copy copy copy"}
Apply the rear brake gently and progressively. The rear wheel is more forgiving if it locks.
{"height":15,"color":{"hue":213,"brightness":0.83,"saturation":1,"alpha":0},"hidden":false,"locked":false,"blockName":"Spacer copy copy copy copy copy copy copy copy"}
Use the front brake with extreme caution, if at all, if it's the front tire that has blown.
{"height":15,"color":{"hue":213,"brightness":0.83,"saturation":1,"alpha":0},"hidden":false,"locked":false,"blockName":"Spacer copy copy copy copy copy copy copy copy copy"}
Look for a safe, flat spot to pull over—a sidewalk, parking lot, or wide shoulder. Avoid stopping in traffic lanes or on blind corners.
{"height":15,"color":{"hue":213,"brightness":0.83,"saturation":1,"alpha":0},"hidden":false,"locked":false,"blockName":"Spacer copy copy copy copy copy copy copy copy copy copy"}
Step 3: Secure the Scene & Assess
{"height":15,"color":{"hue":213,"brightness":0.83,"saturation":1,"alpha":0},"hidden":false,"locked":false,"blockName":"Spacer copy copy copy copy copy copy copy copy copy copy copy"}
Once fully stopped, move completely out of traffic flow.
{"height":15,"color":{"hue":213,"brightness":0.83,"saturation":1,"alpha":0},"hidden":false,"locked":false,"blockName":"Spacer copy copy copy copy copy copy copy copy copy copy copy copy"}
Turn off the bike’s motor and power to prevent accidental throttle engagement.
{"height":15,"color":{"hue":213,"brightness":0.83,"saturation":1,"alpha":0},"hidden":false,"locked":false,"blockName":"Spacer copy copy copy copy copy copy copy copy copy copy copy copy copy"}
Visually inspect the damage. Is it a simple puncture or a large, torn gash in the tire sidewall?
{"height":15,"color":{"hue":213,"brightness":0.83,"saturation":1,"alpha":0},"hidden":false,"locked":false,"blockName":"Spacer copy copy copy copy copy copy copy copy copy copy copy copy copy copy"}
Part 3: On-the-Road Repair or Recovery Decision
{"height":15,"color":{"hue":213,"brightness":0.83,"saturation":1,"alpha":0},"hidden":false,"locked":false,"blockName":"Spacer copy copy copy copy copy copy copy copy copy copy copy copy copy copy copy"}
Can you fix it yourself? This depends on your gear, skill, and the damage.
{"height":15,"color":{"hue":213,"brightness":0.83,"saturation":1,"alpha":0},"hidden":false,"locked":false,"blockName":"Spacer copy copy copy copy copy copy copy copy copy copy copy copy copy copy copy copy"}
Scenario A: You Have a Repair Kit & It's a Simple Puncture
{"height":15,"color":{"hue":213,"brightness":0.83,"saturation":1,"alpha":0},"hidden":false,"locked":false,"blockName":"Spacer"}
Release the brake and remove the wheel.
{"height":15,"color":{"hue":213,"brightness":0.83,"saturation":1,"alpha":0},"hidden":false,"locked":false,"blockName":"Spacer copy"}
Use tire levers to carefully pry off one side of the tire bead.
{"height":15,"color":{"hue":213,"brightness":0.83,"saturation":1,"alpha":0},"hidden":false,"locked":false,"blockName":"Spacer copy copy"}
Locate the puncture in the tube, mark it, sand the area, and apply a patch.
{"height":15,"color":{"hue":213,"brightness":0.83,"saturation":1,"alpha":0},"hidden":false,"locked":false,"blockName":"Spacer copy copy copy"}
Crucially: Before reinstalling, run your fingers along the inside of the tire to find and remove the penetrating object.
{"height":15,"color":{"hue":213,"brightness":0.83,"saturation":1,"alpha":0},"hidden":false,"locked":false,"blockName":"Spacer copy copy copy copy"}
Inflate the tube slightly, reseat the tire, inflate to proper pressure, and remount the wheel.
{"height":15,"color":{"hue":213,"brightness":0.83,"saturation":1,"alpha":0},"hidden":false,"locked":false,"blockName":"Spacer copy copy copy copy copy"}
{"height":15,"color":{"hue":213,"brightness":0.83,"saturation":1,"alpha":0},"hidden":false,"locked":false,"blockName":"Spacer copy copy copy copy copy copy"}
This is the more common outcome with a true blowout. Your options are:
{"height":15,"color":{"hue":213,"brightness":0.83,"saturation":1,"alpha":0},"hidden":false,"locked":false,"blockName":"Spacer copy copy copy copy copy copy copy"}
Call for Help: Use a ride-sharing app, call a friend, or use a roadside assistance service.
{"height":15,"color":{"hue":213,"brightness":0.83,"saturation":1,"alpha":0},"hidden":false,"locked":false,"blockName":"Spacer copy copy copy copy copy copy copy copy"}
Public Transport: If allowed and manageable (folding e-bikes excel here).
{"height":15,"color":{"hue":213,"brightness":0.83,"saturation":1,"alpha":0},"hidden":false,"locked":false,"blockName":"Spacer copy copy copy copy copy copy copy copy copy"}
Walk It: If you're close to a repair shop or your destination, but be mindful of damaging the rim.
{"height":15,"color":{"hue":213,"brightness":0.83,"saturation":1,"alpha":0},"hidden":false,"locked":false,"blockName":"Spacer copy copy copy copy copy copy copy copy copy copy"}
{"height":15,"color":{"hue":213,"brightness":0.83,"saturation":1,"alpha":0},"hidden":false,"locked":false,"blockName":"Spacer copy copy copy copy copy copy copy copy copy copy copy"}
Part 4: Proactive Prevention – Your Best Defense
{"height":15,"color":{"hue":213,"brightness":0.83,"saturation":1,"alpha":0},"hidden":false,"locked":false,"blockName":"Spacer copy copy copy copy copy copy copy copy copy copy copy copy"}
Check Pressure Weekly: Use a reliable gauge. Inflate to the PSI range on the tire sidewall, factoring in your weight and cargo. Err on the higher side within the range for efficiency, but never exceed the max.
{"height":15,"color":{"hue":213,"brightness":0.83,"saturation":1,"alpha":0},"hidden":false,"locked":false,"blockName":"Spacer copy copy copy copy copy copy copy copy copy copy copy copy copy"}
Monthly Visual Inspections: Look for embedded debris, cracks, and worn tread. The "penny test" works—if you can see the top of Lincoln's head, your tread is too low.
{"height":15,"color":{"hue":213,"brightness":0.83,"saturation":1,"alpha":0},"hidden":false,"locked":false,"blockName":"Spacer copy copy copy copy copy copy copy copy copy copy copy copy copy copy"}
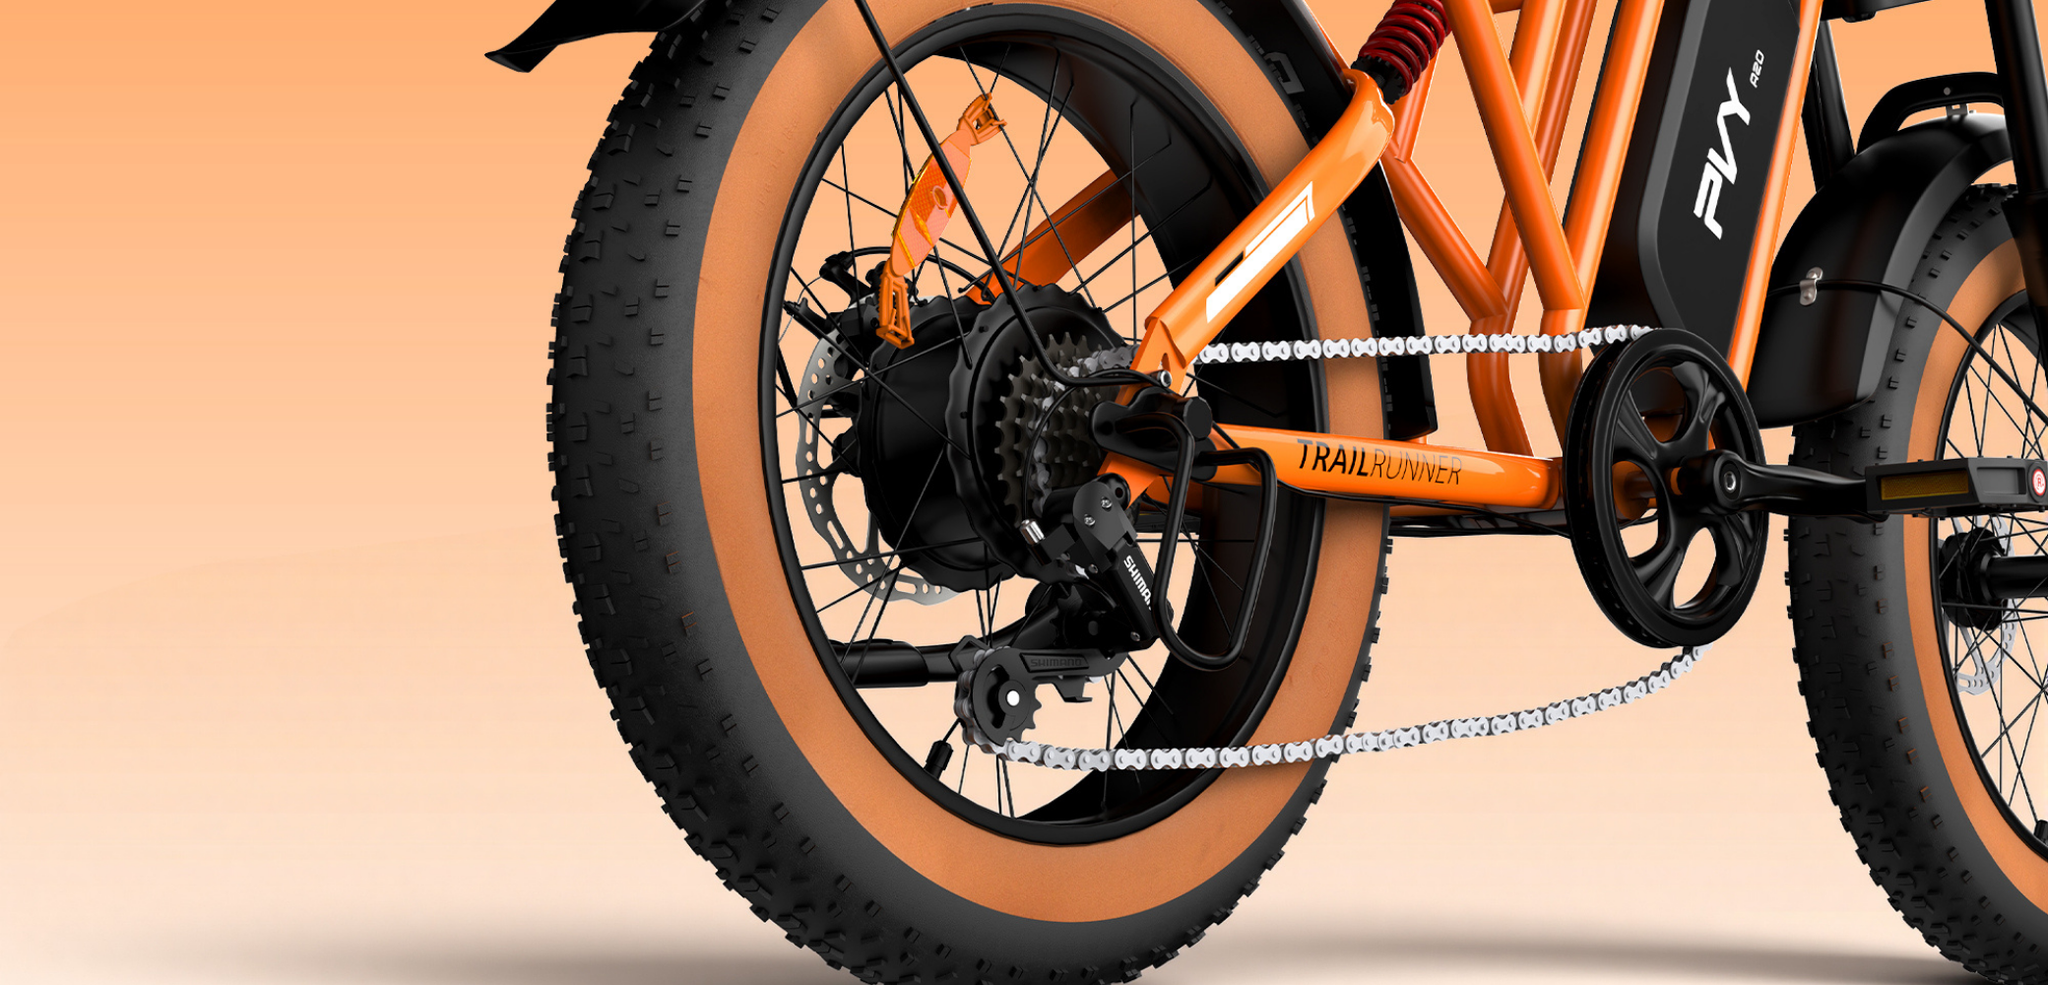
Choose Tires for Your Terrain: Consider puncture-resistant tires with belts of Kevlar or other durable materials. For rugged use, tires with thicker sidewalls (like those on the PVY Z20 PLUS) offer more impact protection.
{"height":15,"color":{"hue":213,"brightness":0.83,"saturation":1,"alpha":0},"hidden":false,"locked":false,"blockName":"Spacer copy copy copy copy copy copy copy copy copy copy copy copy copy copy copy"}
Mind Your Load: Respect your e-bike’s maximum weight capacity. Excess cargo stresses tires.
{"height":15,"color":{"hue":213,"brightness":0.83,"saturation":1,"alpha":0},"hidden":false,"locked":false,"blockName":"Spacer copy copy copy copy copy copy copy copy copy copy copy copy copy copy copy copy"}
Ride Defensively: Actively scan for and avoid potholes, debris, and curbs.
{"height":15,"color":{"hue":213,"brightness":0.83,"saturation":1,"alpha":0},"hidden":false,"locked":false,"blockName":"Spacer copy copy copy copy copy copy copy copy copy copy copy copy copy copy copy copy copy"}
Conclusion: Preparedness is Power
{"height":15,"color":{"hue":213,"brightness":0.83,"saturation":1,"alpha":0},"hidden":false,"locked":false,"blockName":"Spacer copy copy copy copy copy copy copy copy copy copy copy copy copy copy copy copy copy copy"}
A tire blowout is disruptive and frightening, but it doesn’t have to lead to disaster. By understanding its causes, practicing the controlled-stop reflex, and carrying basic tools, you transform panic into procedural response. Pair this knowledge with consistent tire maintenance, and you’ll drastically reduce your chances of ever hearing that dreaded bang.
{"height":15,"color":{"hue":213,"brightness":0.83,"saturation":1,"alpha":0},"hidden":false,"locked":false,"blockName":"Spacer copy copy copy copy copy copy copy copy copy copy copy copy copy copy copy copy copy copy copy"}
Ride Smart, Ride Prepared. Share your own flat-tire stories or prevention tips in the comments to help build a safer cycling community.